Training for Canada’s epic trails like the West Coast Trail isn’t about generic gym fitness, but about building resilience to specific mountain stresses.
- True mountain fitness means preparing for altitude, sustained steep grades, and technical terrain—challenges flatland training ignores.
- Your success depends on mastering eccentric strength for descents, metabolic conditioning for heavy packs, and logistical readiness.
Recommendation: Use the “Back-to-Back Weekend” benchmark described in this guide to accurately test your readiness before you ever book a permit.
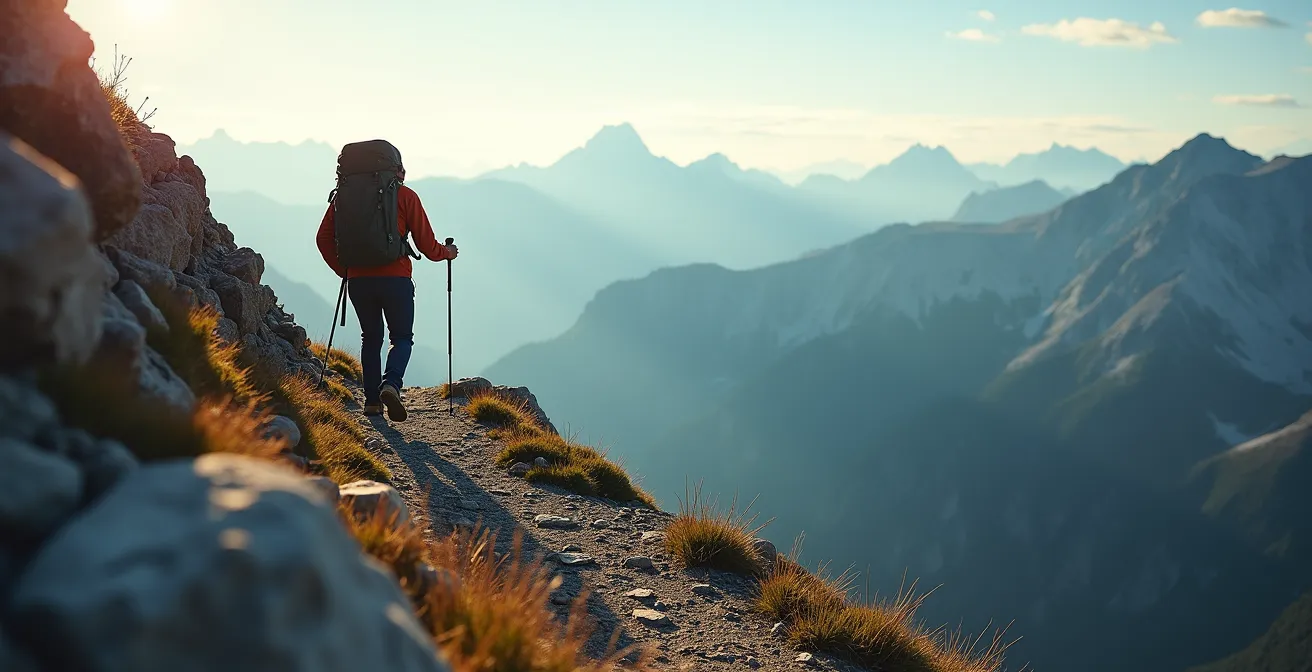
You’ve seen the photos. The endless, serrated peaks of the Skyline Trail. The wild, misty coastline of the West Coast Trail. These aren’t just hikes; they are Canadian rites of passage. The desire to stand on those ridges is powerful, but for many intermediate hikers, it’s matched by a nagging fear: “Am I truly fit enough for that kind of elevation?” You diligently hit the treadmill, do your squats, and hike your local trails, but a nagging doubt remains. You hear stories of hikers brought to their knees by the relentless climbing, and you wonder if your training is missing something fundamental.
The common advice is to simply “get in shape,” but this is dangerously vague. The truth that seasoned mountain adventurers know is that generic fitness doesn’t prepare you for the specific, brutal demands of a multi-day trek in the Canadian wilderness. The key isn’t just to train harder; it’s to train smarter by simulating the unique physiological stresses you’ll face. It’s about preparing your body not for the gym, but for the trail itself.
This guide moves beyond generic cardio and leg days. As a coach, I’ll break down the real physical challenges of these iconic trails—from the oxygen-deprived air at altitude to the muscle-shredding reality of a heavy pack on a steep descent. We will explore the specific biomechanics of mountain travel and give you the tools to build trail-specific resilience. This isn’t about becoming a world-class athlete; it’s about becoming a confident, prepared backcountry hiker ready to conquer your dream trail.
This article will provide a clear roadmap to assess your readiness and build a targeted training plan. We will cover everything from the environmental factors that make these trails so demanding to the real-world benchmarks that prove you’re ready for the challenge.
Summary: Your Training Blueprint for Canada’s Toughest Trails
- Why Is a “Moderate” Trail in the Rockies Considered “Hard” in Ontario?
- How to Choose Boots That Handle Both Mud and Shale Rock?
- Plain of Six Glaciers or Berg Lake: Which Requires More Logistical Prep?
- The Water Calculation Mistake That Leads to Heat Exhaustion in the Badlands
- When to Start Your Ascent to Avoid Afternoon Thunderstorms?
- How to Walk on a Glacier with a Guide Without Risking a Crevasse Fall?
- What Does It Really Mean to Carry 50lbs of Gear for 10 Days?
- How to Determine If You Are Fit Enough for a Multi-Day Canadian Wilderness Adventure?
Why Is a “Moderate” Trail in the Rockies Considered “Hard” in Ontario?
The discrepancy in trail ratings between regions like Ontario and the Canadian Rockies isn’t about elitism; it’s about physiology and environment. A “moderate” 15 km hike near Toronto is a fundamentally different physical challenge than a 15 km hike in Jasper. The difference lies in a combination of factors that compound to dramatically increase the effort required. Your body is simply working harder with every step, even at the same pace.
The four key differentiators you must train for are:
- Elevation Gain: A big day in Ontario might involve 200-400 metres of total climbing. In the Rockies, a single day’s push can easily involve 700 to 1,740 metres of sustained ascent. This isn’t just more work; it’s a different kind of muscular and cardiovascular endurance.
- Trail Grade: Ontario trails rarely exceed a 10% grade. Rocky Mountain trails can maintain a grueling 15-20% grade for hours. This constant, steep angle puts immense strain on your calves and glutes during ascent and your quads and knees during descent.
- Technical Terrain: Forget the packed earth of southern trails. Here, you’ll navigate loose scree that shifts underfoot, sharp shale rock, and slick, snow-filled gullies even in August. This requires constant focus and engages dozens of small stabilizer muscles in your ankles, knees, and core.
- Altitude: This is the invisible multiplier. The Skyline Trail reaches 2,510 meters at its highest point. At this elevation, there’s roughly 20-25% less effective oxygen available per breath. Your heart and lungs must work that much harder just to supply your muscles, leading to a higher heart rate, faster breathing, and quicker fatigue.
Essentially, your body’s engine is running less efficiently while the demands placed on it are exponentially higher. This is the gap your training must bridge.
How to Choose Boots That Handle Both Mud and Shale Rock?
Your boots are your single most important piece of gear, acting as the interface between your body and the wildly varied terrain of a Canadian mountain trail. A boot that excels in the mud of the West Coast Trail might feel clumsy and slick on the sharp, rocky ridges of the Skyline Trail. The secret lies in understanding the engineering of the outsole—the rubber part that meets the ground. For multi-terrain trails, you need a hybrid design that balances two opposing needs: grip on soft ground and adhesion on hard surfaces.
For mud, deep gullies, and wet forest floors, you need an outsole with deep, widely-spaced lugs (the “teeth” of the sole). These 5mm+ lugs bite into soft terrain like cleats, providing mechanical grip. The wide spacing is crucial; it allows mud to shed with each step, preventing your boots from becoming heavy, slick platforms. For the shale, scree, and exposed rock slabs common at high elevations, you need a different solution. Here, grip comes from friction, not penetration. Look for boots that incorporate areas of stickier, flatter rubber, especially around the toe and heel. This “climbing zone” compound maximizes surface area contact, allowing the rubber to adhere to the micro-textures of the rock.
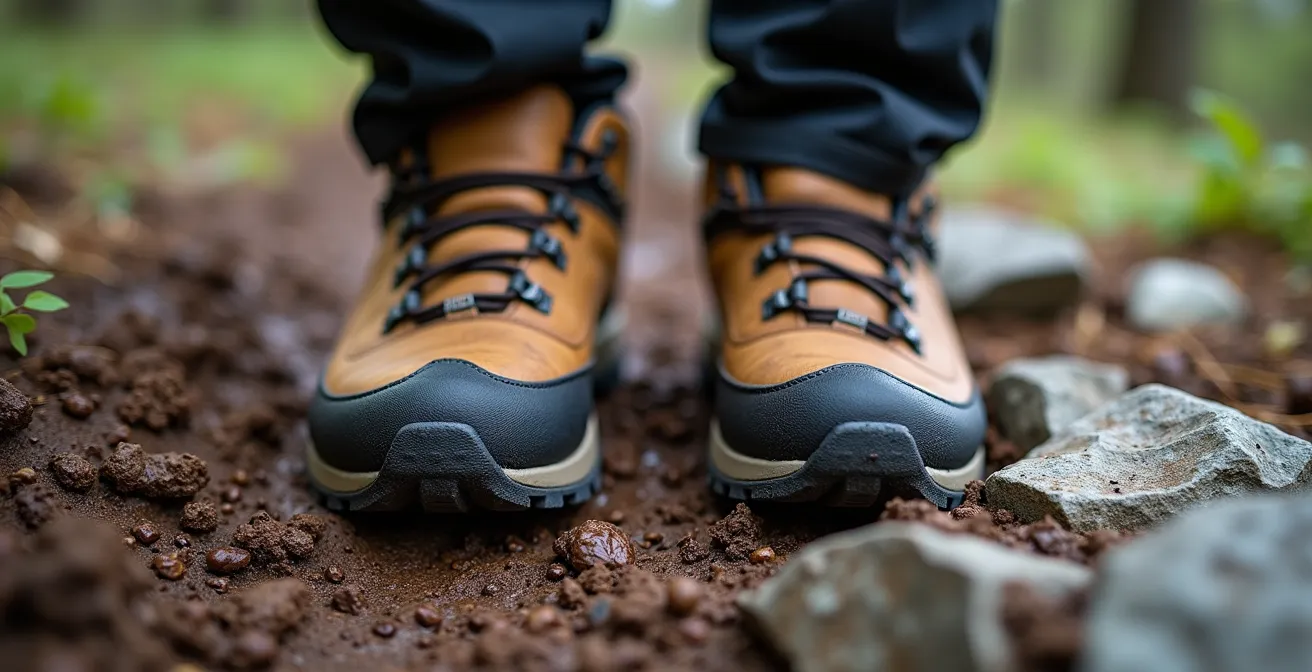
As you can see in the comparison, the ideal boot doesn’t choose one over the other. It intelligently combines both philosophies. It will feature deep, aggressive lugs in the central part of the sole for power and braking in soft ground, complemented by a harder-wearing, high-friction compound on the outer edges and toe for confident rock scrambling. This dual-compound approach is the hallmark of a true all-mountain boot capable of taking you from a muddy valley bottom to a windswept, rocky summit with confidence.
Beyond the sole, ensure the boot has a rigid shank for support under a heavy pack and a waterproof membrane like GORE-TEX to handle inevitable creek crossings and rain.
Plain of Six Glaciers or Berg Lake: Which Requires More Logistical Prep?
While both hikes offer breathtaking glacial views in the Canadian Rockies, they represent two completely different worlds of logistical commitment. The Plain of Six Glaciers is a magnificent but accessible day hike, while the Berg Lake Trail is a full-blown backcountry expedition. Confusing the two can lead to dangerous under-preparation. The difference isn’t just in the distance; it’s in the entire system of access, safety, and self-sufficiency required.
Choosing the wrong objective for your experience level is a common mistake. The Plain of Six Glaciers is a perfect step up for an intermediate hiker wanting a taste of the high alpine. Berg Lake, on the other hand, demands serious, proven backcountry skills. As the following comparison shows, Berg Lake requires months of planning and a much higher degree of self-reliance, with a reservation system that is notoriously competitive.
| Aspect | Plain of Six Glaciers | Berg Lake |
|---|---|---|
| Reservation System | Discovery Pass only | BC Parks lottery (difficult) |
| Trail Type | Day hike from Lake Louise | Multi-day backcountry |
| Emergency Access | Multiple exit points, cell service | Single entry/exit, helicopter only |
| Food Storage | Not required | Mandatory bear caches |
| Preparation Time | 1-2 days | 3+ months advance |
Case Study: The Backcountry Permit Gauntlet
The “difficult” lottery for trails like Berg Lake is no exaggeration. Trails of similar complexity, such as the Skyline Trail in Jasper, provide a stark example. For the Skyline, reservations open on a specific date in late January and are fought over with ferocious intensity. Hikers report sitting in virtual queues for over 40 minutes, only to find that the most desirable dates in July and August were completely sold out within three minutes of the system opening. This intense competition for a limited number of backcountry permits is a core part of the logistical challenge and requires planning your trip almost a year in advance.
Ultimately, your choice should be an honest assessment of not just your fitness, but your entire backcountry skillset, from trip planning and navigation to wildlife safety and emergency preparedness.
The Water Calculation Mistake That Leads to Heat Exhaustion in the Badlands
While much of this guide focuses on high-altitude mountain environments, a critical training lesson comes from another iconic Canadian landscape: the Alberta Badlands. Here, the challenge isn’t altitude, but a brutal combination of intense, direct sun, low humidity, and a complete lack of natural water sources. Hikers accustomed to the lush, water-rich forests of Eastern or Coastal Canada often make a critical miscalculation that can quickly lead to severe dehydration and heat exhaustion.
The mistake is underestimating the rate of “insensible water loss.” In the dry air of the badlands, your sweat evaporates almost instantly. You may not feel like you’re sweating heavily, but your body is pumping out moisture at an alarming rate to stay cool. A standard 1-litre bottle that would last you a morning in a humid forest might be gone in an hour. The rule of thumb here is to carry a minimum of 4 litres of water per person for a full-day hike, and even more on hotter days. Relying on a single hydration bladder is a recipe for disaster; you need multiple, independent water containers in case one fails.
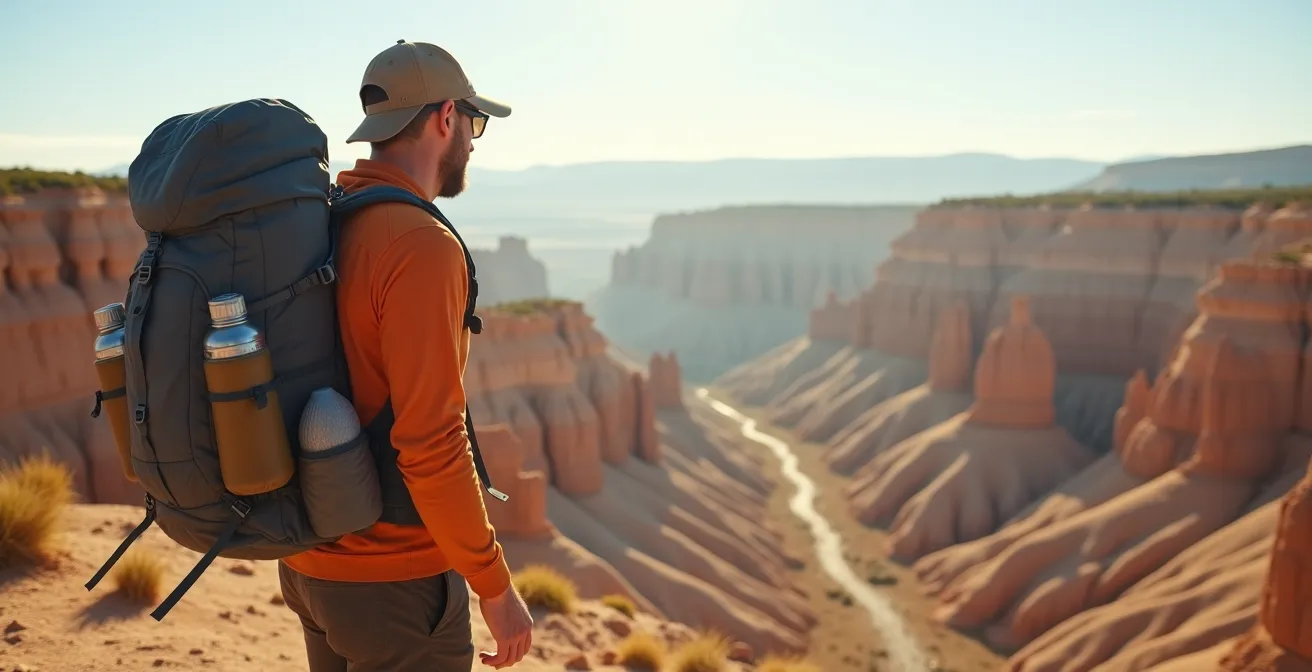
This unforgiving environment teaches a universal lesson applicable even in the mountains: your water plan must be deliberate, redundant, and based on the worst-case scenario of the specific environment you’re in. Before any long, exposed section of a trail like Skyline, you must “camel up”—drink a full litre of water before you even start—and ensure you have the capacity to carry enough to reach the next reliable water source, which could be many hours away. The badlands prove that running out of water is not an inconvenience; it’s a medical emergency in the making.
Never assume water will be available. Always consult trail reports for the status of streams and springs, treat all natural water, and carry more than you think you’ll need. Your life may depend on it.
When to Start Your Ascent to Avoid Afternoon Thunderstorms?
In the Canadian Rockies, the weather is not just a backdrop; it’s an active participant in your hike, and it operates on a surprisingly predictable schedule. One of the most significant dangers on exposed high-altitude trails is the daily afternoon thunderstorm. These are not gentle rain showers. They are violent, fast-moving systems that bring lightning, hail, drastic temperature drops, and zero visibility. Being caught on an exposed ridge or summit during one of these events is a life-threatening situation. The key to safety is not to out-run the storm, but to be off the high ground before it even forms.
The mechanism is simple: as the sun heats the ground and valleys throughout the morning, warm, moist air rises. When this air hits the colder upper atmosphere, it condenses rapidly, forming massive cumulonimbus clouds. This process of convective uplift peaks in the early afternoon. As a result, mountain thunderstorms in the Canadian Rockies typically develop between 1 PM and 4 PM. Your entire hiking day must be planned around this single, non-negotiable deadline.
This leads to the golden rule of mountain safety: the “Alpine Start.” An alpine start means you are on the trail and moving no later than 7 AM, and ideally closer to sunrise. This isn’t about being an early bird; it’s a calculated strategy to ensure you are up and over the highest, most exposed sections of your trail (like “The Notch” on the Skyline Trail) before noon. This gives you a crucial safety buffer to descend to the relative safety of the treeline before the storm clouds begin to build.
Case Study: The Cost of a Late Start
The importance of the alpine start is written in the incident reports of park services. On the Skyline Trail, a group of hikers who began their ascent of The Notch after 11 AM found themselves engulfed by a sudden thunderstorm. The trail vanished in the whiteout conditions, and the risk of a fall or hypothermia became acute. They were fortunate to be rescued by helicopter, but the incident serves as a stark reminder. As experienced hikers report, the goal is to be clearing the 2,511m high point well before 1 PM, when the daily storm cycle reliably kicks into gear.
Do not let a beautiful, clear morning lull you into a false sense of security. The mountain makes its own weather, and your job is to respect its schedule.
How to Walk on a Glacier with a Guide Without Risking a Crevasse Fall?
For many, stepping onto a glacier is the ultimate Canadian alpine experience. The immense rivers of ice, with their deep blue crevasses and seracs, are awe-inspiring. They are also profoundly dangerous for the untrained. Walking on a glacier is a technical skill that should only be done with a certified guide and proper equipment (crampons, ice axe, helmet, and harness). Your guide’s primary job is to manage the single greatest risk: falling into a hidden crevasse.
The techniques they use are both simple and critical. The most visible is the rope. You will be “roped up” to your guide and other group members. The purpose of this rope is often misunderstood. As one expert puts it, it’s not about catching you after you fall; it’s about preventing the fall from ever completing.
The short rope technique isn’t about catching falls – it’s about preventing them entirely. We keep 2-3 meters between climbers with the rope taut. The moment someone’s weight shifts unexpectedly, I can arrest their movement before a crevasse fall begins. Tourists often don’t realize that most crevasse accidents happen in the first 30cm of breakthrough.
– A certified glacier guide, Canadian Skyline Adventures
To be an active participant in your own safety, you must master a few key techniques. Your guide will teach you, but understanding them beforehand is crucial:
- Maintain Rope Tension: The rope between you and the person in front should never have a deep sag. It should be just taut enough that the guide can instantly feel any change in your weight or momentum.
- Use Your Crampons Correctly: Walk with a flat-footed, slightly wide stance, sometimes called “duck feet.” The goal is to have all the points of your crampons engage the ice simultaneously. Avoid walking on your toes, as this dramatically reduces grip and can lead to a slip.
- Scan the Surface: Be an active observer. Look ahead for telltale signs of a hidden crevasse: subtle linear depressions in the snow, changes in snow color from white to greyish-blue, or a slight ‘sagging’ look to the surface. Alert your guide to anything that looks suspicious.
- Communicate Instantly: If you feel the snow give way under your foot, even slightly, shout immediately. Do not be timid. That instant communication gives your guide the split second needed to react and arrest your movement.
Trust your gear, trust your guide, and stay focused. The reward is access to a world of unparalleled, frozen beauty.
What Does It Really Mean to Carry 50lbs of Gear for 10 Days?
The concept of carrying a 50-pound (23 kg) pack is where abstract fitness goals collide with the harsh reality of backcountry physics. It’s a number that’s easy to say, but its true meaning is only understood through experience. It’s not just “heavy.” It’s a living, shifting force that fundamentally changes everything about how you move. For an intermediate hiker used to a 15-pound daypack, the transition is profound and often underestimated.
First, the cumulative fatigue is exponential. On day one, 50 pounds feels manageable. By day three, after 40+ kilometres and thousands of metres of elevation change, that same 50 pounds feels like 100. It grinds on your shoulders, compresses your spine, and adds a massive metabolic cost to every single step you take. Your body isn’t just moving you; it’s moving you plus a small person on your back. This is a battle of endurance and caloric efficiency that no gym workout can fully replicate.
Second, it completely alters your balance and biomechanics. Your center of gravity is now higher and further back. This makes you less stable on uneven terrain, increasing the risk of a slip or a twisted ankle. The stabilizer muscles in your core, hips, and ankles are forced to work overtime, constantly firing to keep you upright. Descending is the real test. The momentum of the pack wants to propel you forward, forcing your quads and knees to absorb immense eccentric load—the stress of a muscle lengthening under tension. This is why even very fit hikers can find their quads reduced to jelly after a long descent with a heavy pack.
Carrying that weight isn’t a feat of brute strength. It’s a skill. It requires a strong core, durable joints, and a body conditioned not just to exercise, but to bear a heavy load, day after day.
Key Takeaways
- Mountain fitness is specific: it requires training for altitude, grade, and technical terrain, not just generic cardio.
- Your preparation is threefold: physical conditioning for specific stresses, logistical readiness for permits and safety, and the right gear for the environment.
- The ultimate test of readiness is your ability to handle back-to-back, long-duration hikes with a fully weighted pack, simulating the cumulative fatigue of a multi-day trek.
How to Determine If You Are Fit Enough for a Multi-Day Canadian Wilderness Adventure?
So, how do you know if your training has worked? How can you step onto the trail with confidence, not apprehension? You need a reliable, real-world benchmark. Forget lab tests and theoretical calculations; the best way to test your fitness for a multi-day hike is to simulate its hardest aspects in a controlled environment. The goal is to test your body’s ability to handle not just one hard day, but the cumulative stress of multiple hard days in a row.
The “Back-to-Back Weekend” benchmark is an industry-standard test used by many aspiring thru-hikers. It’s brutally simple and highly effective. To perform it, you must find the most challenging terrain accessible to you and complete two long, consecutive hiking days with a pack weighted to your expected trail weight (40-50 lbs). The key is that there is no easy recovery day in between.
Case Study: The West Coast Trail “Back-to-Back” Benchmark
Taryn, an experienced hiker from the blog Happiest Outdoors, tested this exact benchmark before tackling the notoriously difficult West Coast Trail. Her test consisted of two consecutive days of 15-20km hikes on Ontario’s Bruce Trail, each with 1000m of elevation gain and a 40lb pack. She notes that successfully completing this test was an accurate predictor of her ability to handle the 7-day ordeal of the WCT. Critically, she highlights that the descents, not the climbs, caused the most muscle soreness, reinforcing the need to train specifically for that eccentric load.
This benchmark tests everything: your cardiovascular endurance on the climbs, your eccentric muscle strength on the descents, your shoulder and hip tolerance for the pack, and, most importantly, your mental fortitude on the morning of day two when you have to put the heavy pack back on sore muscles. As a final preparation step, remember that Parks Canada recommends starting physical training at least three months before your trip. This gives you time to build a base and then test yourself with benchmarks like this one.
Your Pre-Trek Fitness Audit
- Pack-Loaded Endurance: Can you complete a 15-20 km hike with 1,000m of elevation gain carrying your fully loaded pack (40-50 lbs)?
- Back-to-Back Test: Can you perform a similar difficult, pack-loaded hike the very next day? How does your body recover?
- Eccentric Strength: After long descents, are your quads sore but functional, or are they completely shot? Incorporate slow, controlled downhill walking into your training.
- Core and Stability: Can you stand on one leg with your pack on for 30 seconds? This tests the stabilizer muscles critical for uneven terrain.
- System Check: Have you tested every single piece of gear on your training hikes? This includes your stove, water filter, and sleep system.
Start your training with a clear goal, test yourself honestly against these benchmarks, and you will transform your dream hike from an intimidating challenge into the adventure of a lifetime.